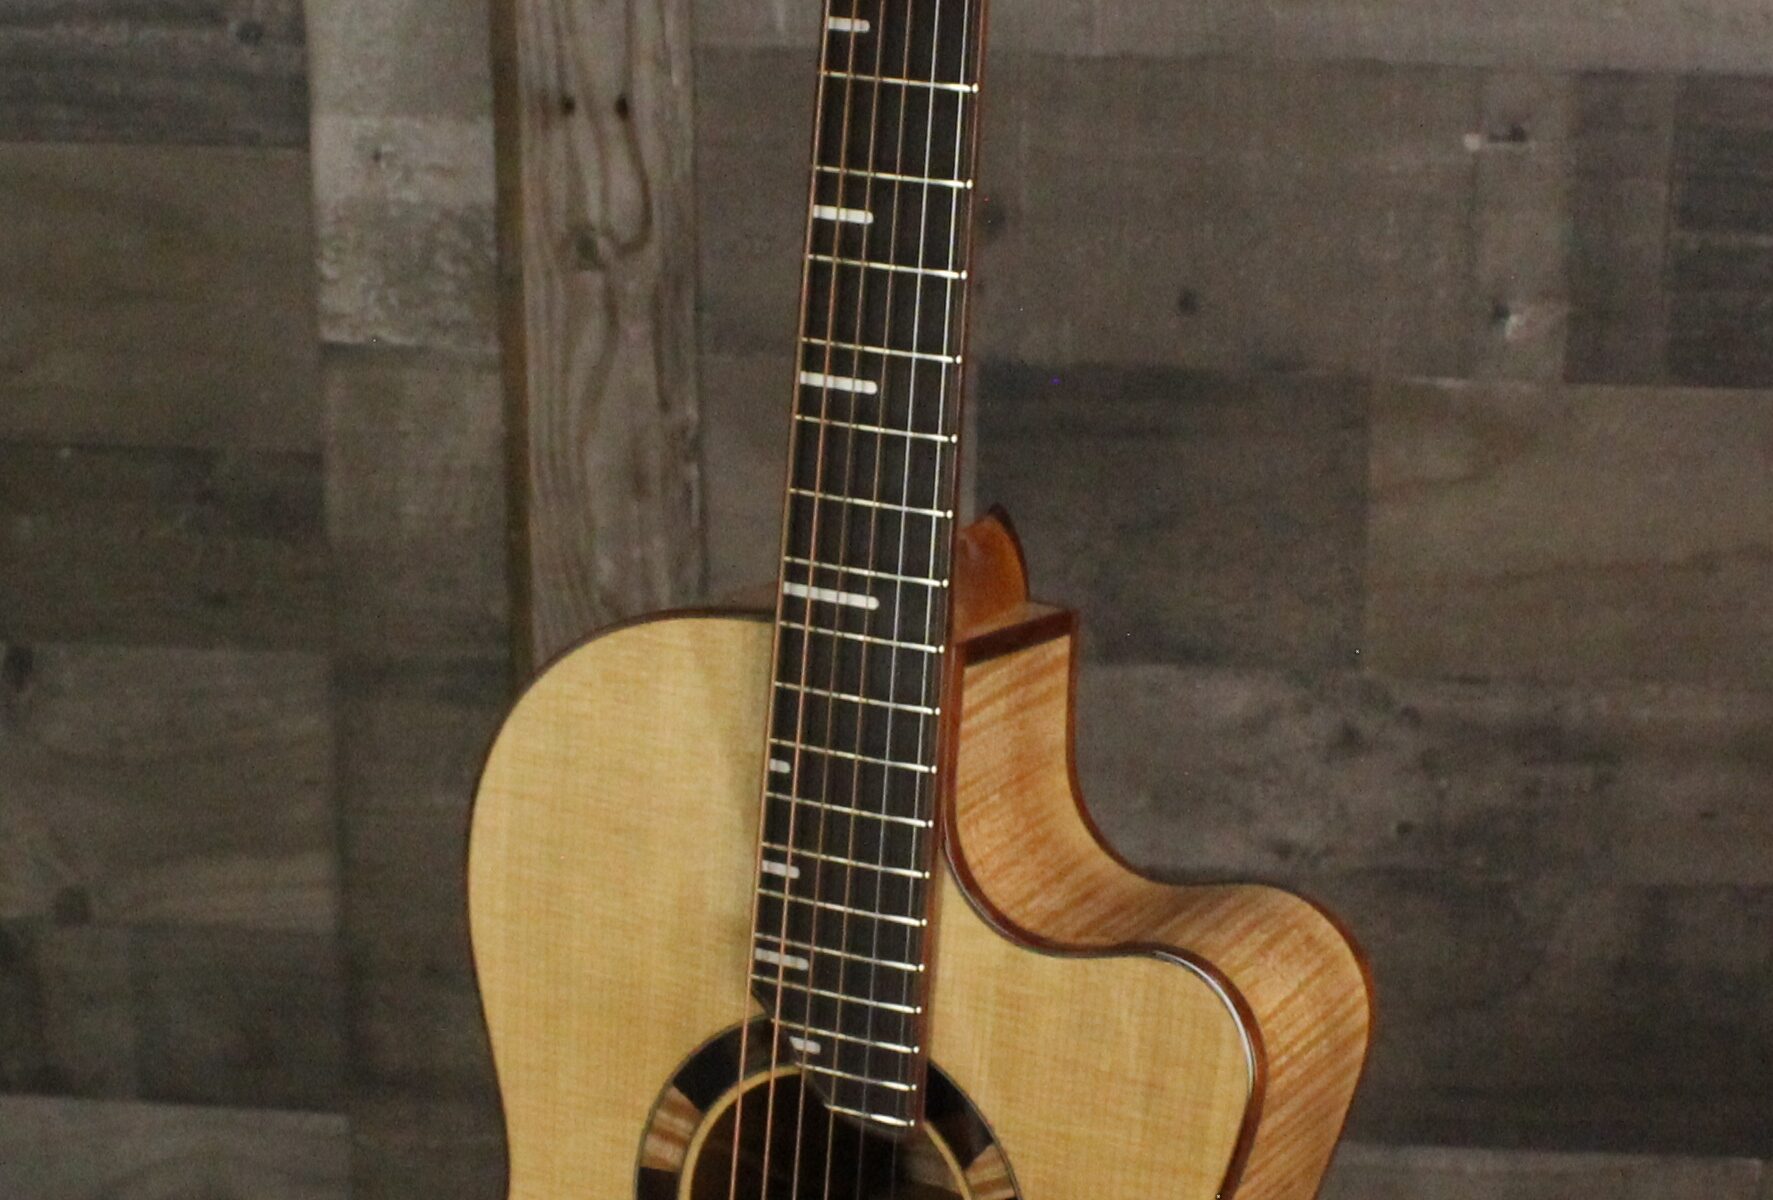
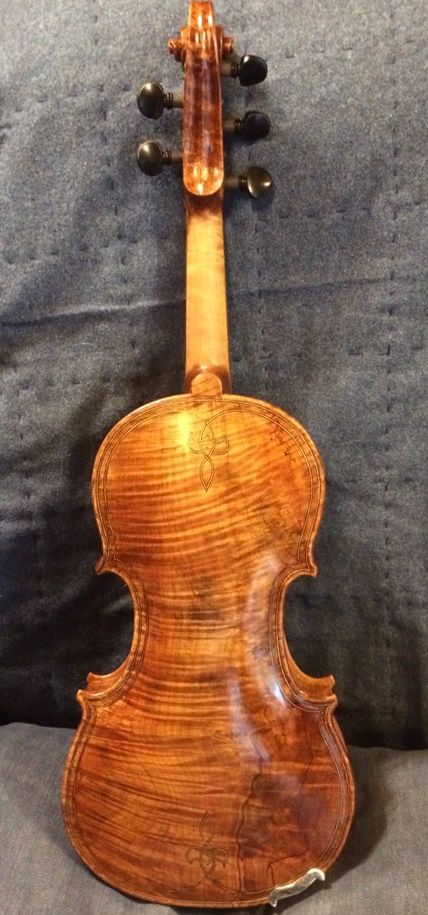
This is how a violin is completed:
(This post is copied from Chet’s five-string fiddles website, to explain more about “Chet’s Fiddles.“)
Last time I posted, I had just completed the commissioned five-string fiddle, up to and including the sealer.
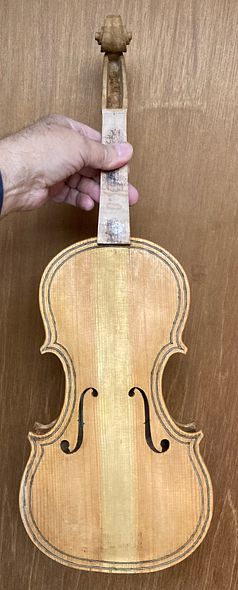
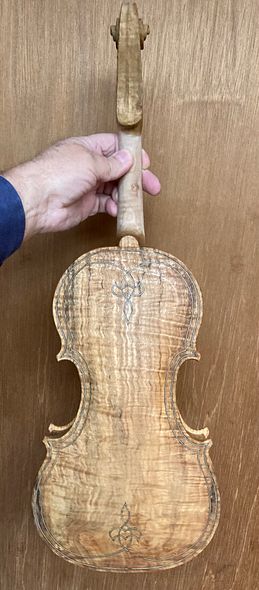
Varnish:
The “magic” of the sealer was that it caused the mineral ground to disappear forever. The instrument instantly went from stark chalk-white to a natural wood color. As a result, the mineral will never be visible again. I always enjoy that transformation.
The varnish, on the other hand, is a series of relatively small changes, wherein the violin achieves the color we want. Furthermore, the increasing clarity and depth of the varnish gives the impression of being able to “see into the wood.”
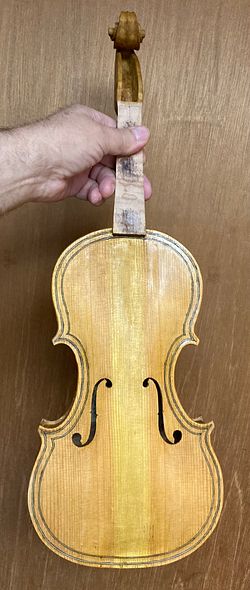
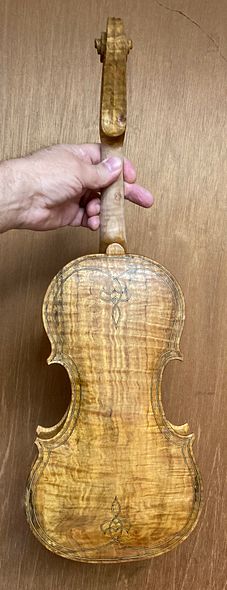
I always begin with a couple of coats of deep yellow or amber varnish, as an undercoat which will shine through the later color coats.
Yellow First
Here is the violin after the two coats of yellow varnish:

Color Coats
Next, I bagan layering the color coats, building to the look I planned. (Each “coat,” in reality, is usually two coats, applied in quick succession. There were about eight total color coats, but I will call them “first through fourth.”)
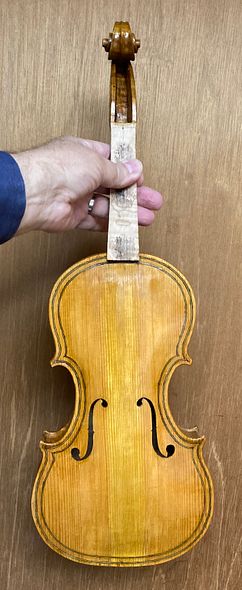

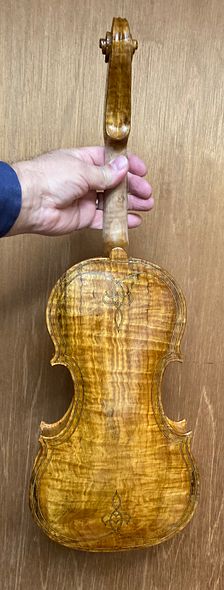
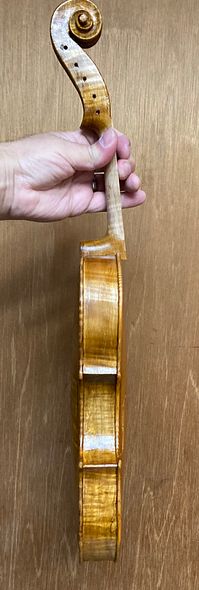
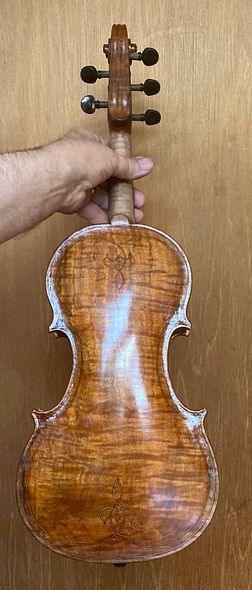
This maple is really beautiful wood. I wish I had a lot more of it, but, sadly, I only was able to salvage a little of the tree from which it originated. The “donor tree” was removed from the property where my wife and her siblings grew up. It had finally rotted and was becoming dangerous, so they removed it. But the wood is gorgeous. You can see the stump in this article….
Continuing color coats
As you can see, the yellow base coat is still showing through pretty strongly. That is good, but I still wanted to move the color toward a deep reddish brown, with the golden yellow shining through. Therefore… I needed more color coats!
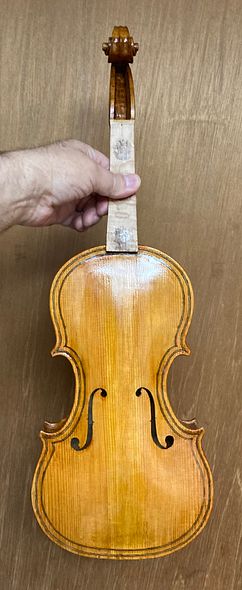
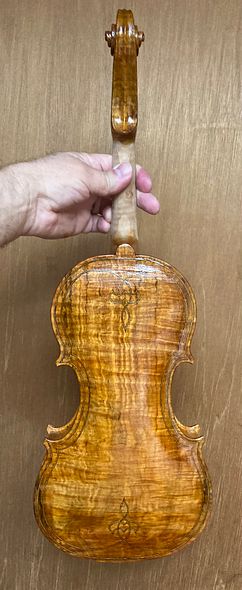
The color is headed in the right direction, but still needs to be deeper. I will add extra color in any areas that should be darker.
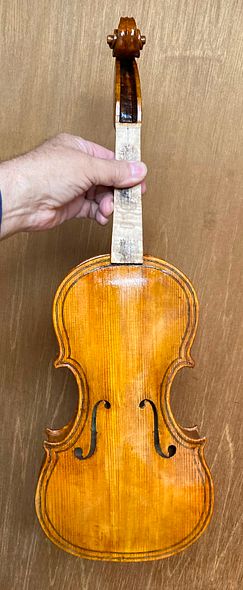
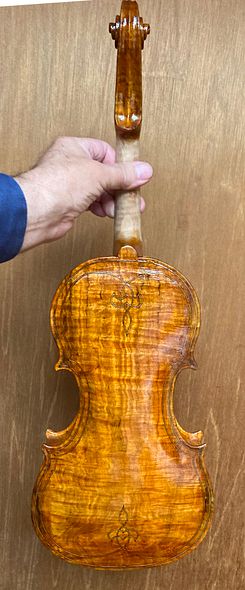
I was getting pretty close to correct, so I began taking the instrument out into natural light, to check the color there.
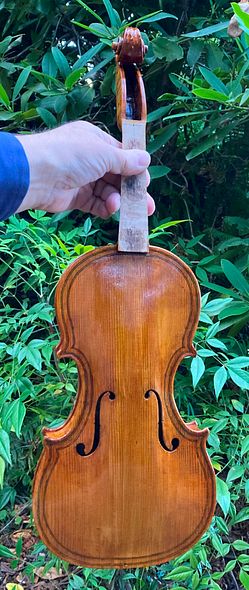
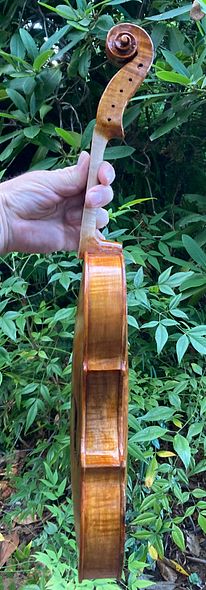
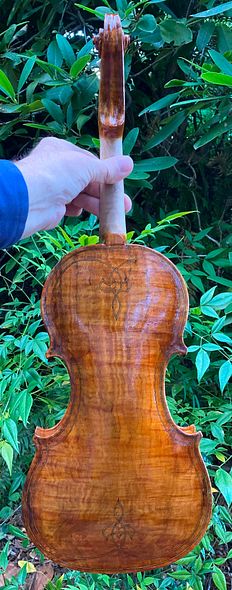

The color was pretty close to what I had hoped to produce. Therefore, I felt that I was ready to reinstall the fingerboard, Afterward, I would hand-rub the varnish to a good polish. Finally, I allowed it to hang in my dining room and cure a little more fully. The varnish was still quite soft, though dry to the touch.
Fingerboard
First I carved the underside of the fingerboard to remove extra mass. This affects the sound, as well as the feel of the instrument. (Extra, unnecessary mass tends to absorb vibration rather than resonate.)
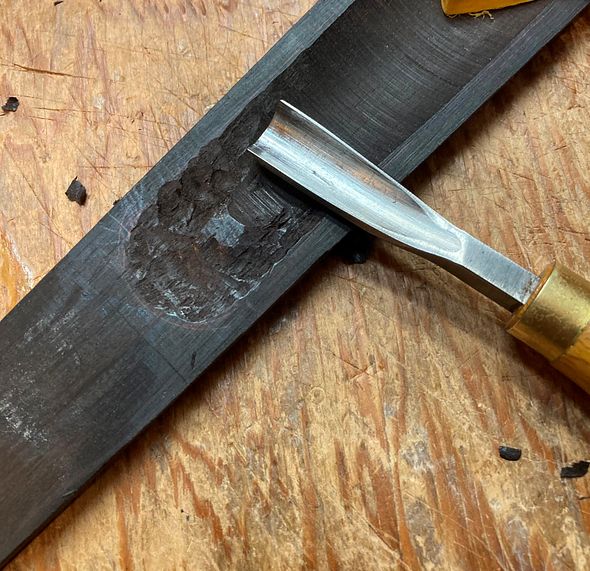
Then I carved a tiny notch, dead center on the upper end of the backside of the fingerboard, where it would contact the neck. After carving the notch in the fingerboard, I drilled a shallow 1/16″ hole in the neck, to accomodate a tiny nail.
That nail is temporarily installed, at an angle, to serve as a guide and an anchor while installing the fingerboard. (The hide glue is very slippery while it is still hot, and liquid. There is a tendency for the fingerboard to “drift” under the clamps, before the glue can gel.)
The notch in the fingerboard fits on the nail. The nail, then, serves as a temporary stop, so the fingerboard stays put. (I remove the nail after the glue has set.)
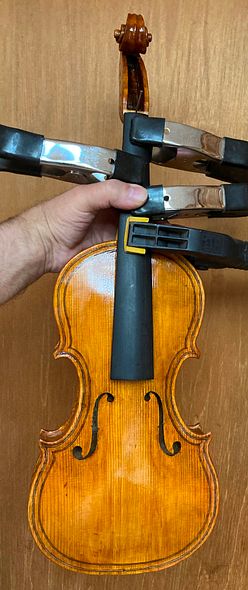
Beginning Set-up
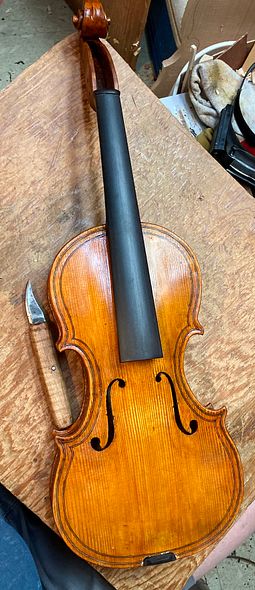
After a few more days, I began set-up. First, I installed the soundpost, saddle, nut, and end button. Next, I fit the pegs, and was ready for the bridge and the strings.
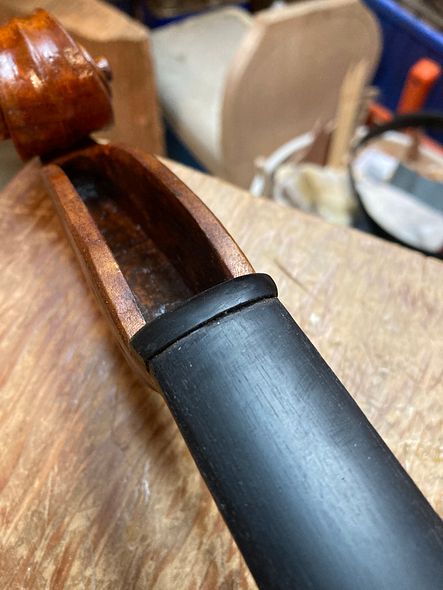
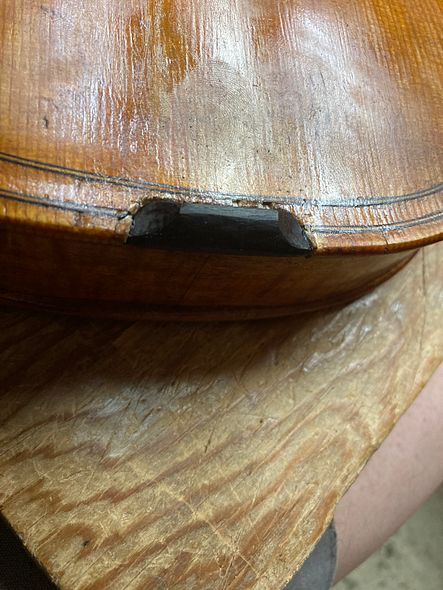
You can see in the above photo that the varnish was still very soft. Everywhere I touched it, it also resulted in my leaving fingerprints. I had to “French-polish” the whole instrument afterward, and let it hang until the varnish was harder. Then it would be easier to handle. (But it was good to have the set-up nearing completion, too.)
Pegs
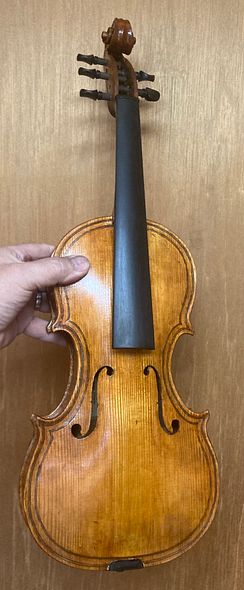
After the varnish had hardened a little more, I then installed the pegs.

Final Set-up
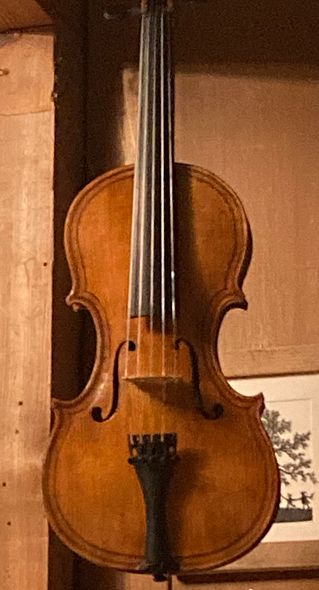
I installed the Bridge and Strings and Tailpiece, and then the fiddle was complete. I still let it hang in my dining room for a week or so, too, so that the varnish would continue to harden without damage.
Final photos
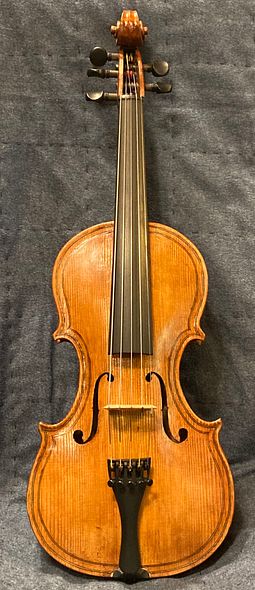
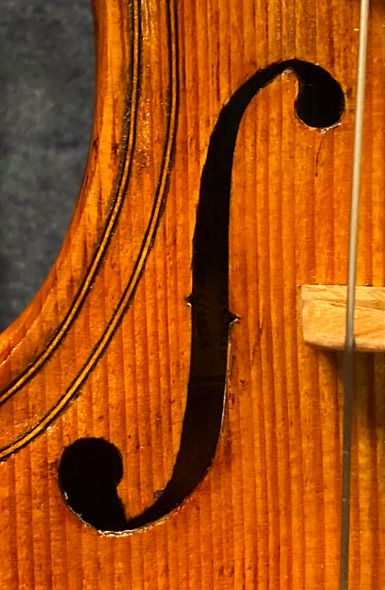

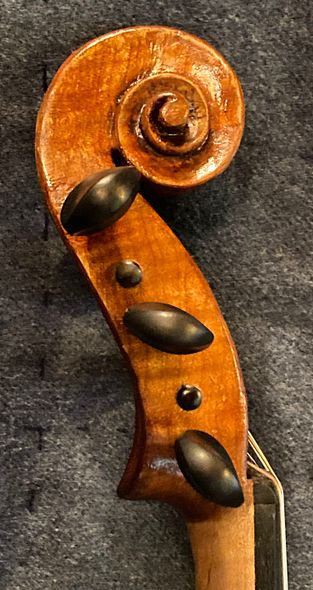
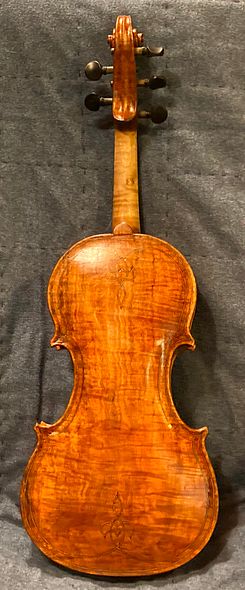
I prepared the instrument’s documents (Bill of Sale and Provenance Document) and afterward, when the varnish had cured for another two weeks, the customer took delivery at the end of July, 2023.
He was delighted, and played the instrument for a long time at my house. Further (which is a joy to me,) he has contacted me since then, expressing his continued joy in the new fiddle. That is the kind of thing that makes this work a great pleasure.
Thanks for looking.

